Peut-on laver les sangles ? Comment nettoyer une slackline sale ? Pourquoi est-il important d'inspecter et d'entretenir votre matériel de slackline ? Cet article répondra aux questions les plus courantes que vous pouvez vous poser (bien que je vous recommande de lire les directives générales d'utilisation dans votre manuel pour une liste exhaustive de ce qui peut endommager votre matériel de slackline). Ceci étant dit, la chose la plus importante à garder à l'esprit est qu'en prenant soin de votre matériel de slackline, vous ne prolongerez pas seulement la durée de vie de votre sangle et de votre cliquet, mais vous vous assurerez également qu'ils fonctionnent correctement. Ok, commençons.
Tip 1
A bad installation can substantially decrease your webbing lifespan. A common and recurring issue which damages the webbing is when it is misplaced in the ratchet. Consequently, the ratchet’s roll tends to “bite” the webbing, causing fraying on the side of the webbing.
The way to avoid this, is to always keep the webbing in the center of the axle, so that the side of the line does not touch the side of the axle. To do so, pull the webbing through the axle by hand until it is as tight as possible. Use one hand to hold both sides of the webbing together and in place. Then, begin tightening.
Tip 2
A bad installation can substantially decrease your webbing lifespan. A common and recurring issue which damages the webbing is when it is misplaced in the ratchet. Consequently, the ratchet’s roll tends to “bite” the webbing, causing fraying on the side of the webbing.
The way to avoid this, is to always keep the webbing in the center of the axle, so that the side of the line does not touch the side of the axle. To do so, pull the webbing through the axle by hand until it is as tight as possible. Use one hand to hold both sides of the webbing together and in place. Then, begin tightening.
Tip 3
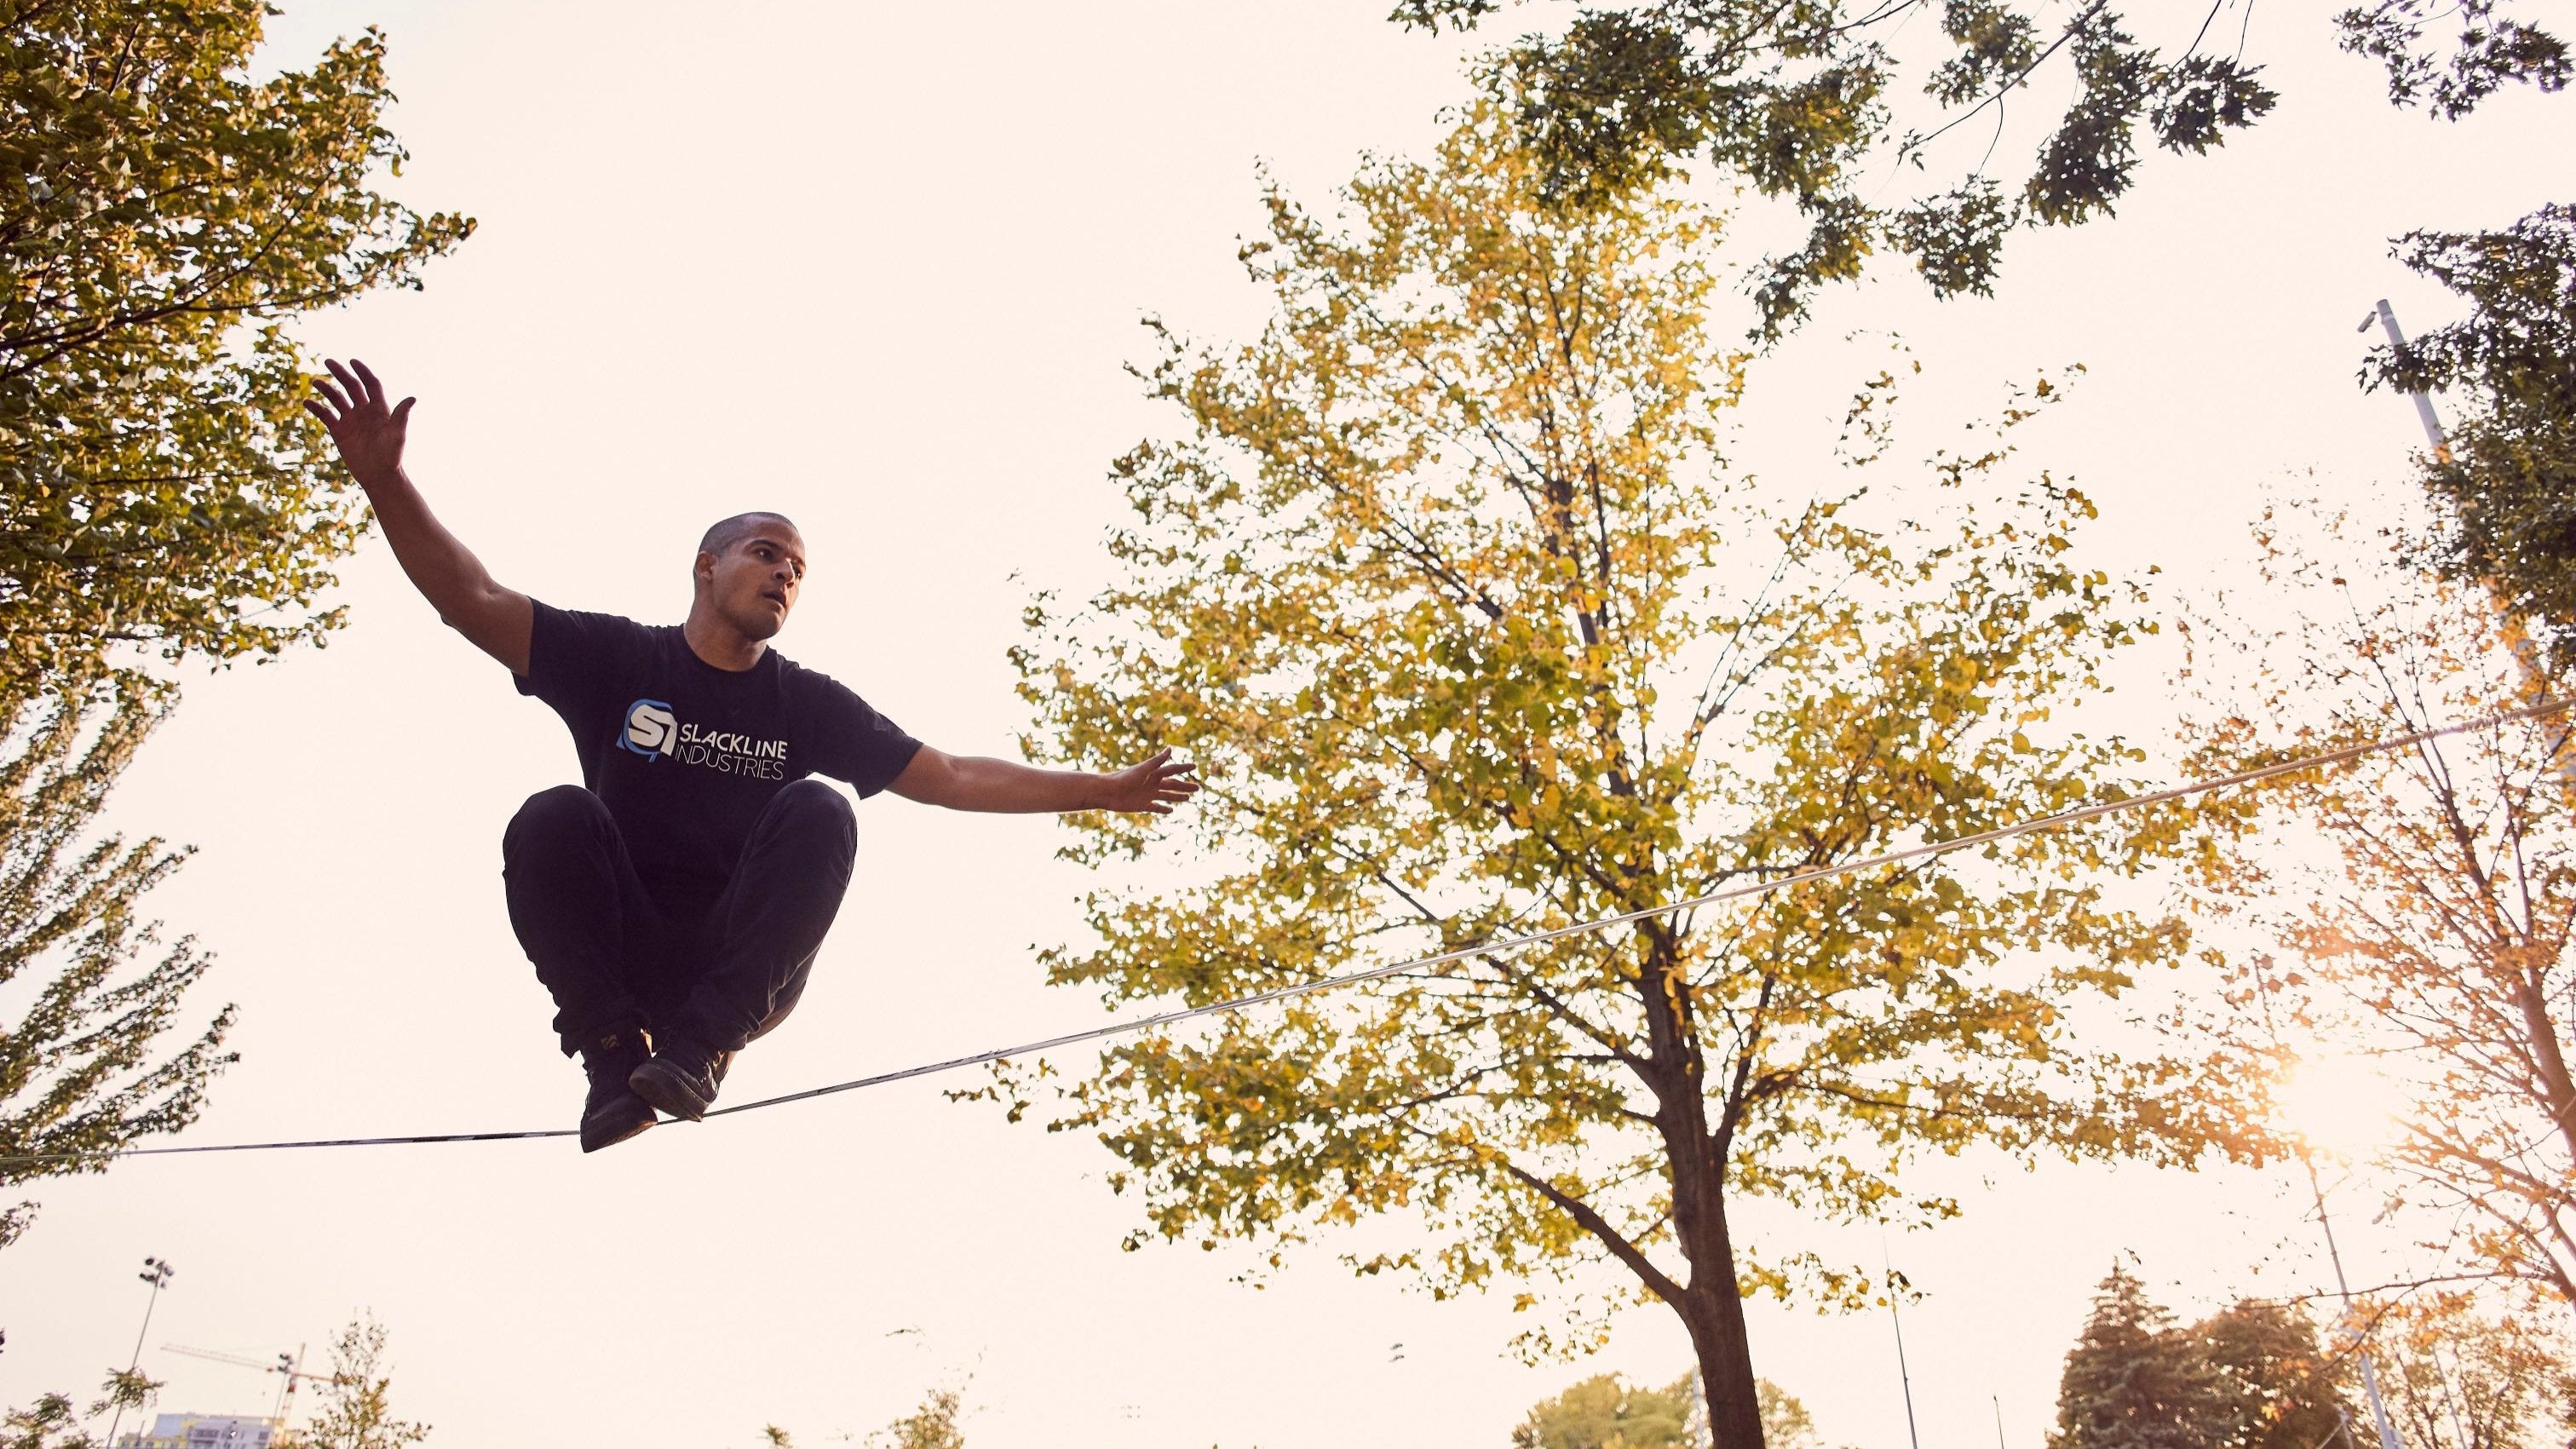
Bad clothing can also ruin your line from the first day of use. When the trickline webbing is installed, the high tension makes the webbing more fragile to shear. In other words, the line is easier to cut. Pants and shorts with buttons on the back, or zippers on the side can rub against the webbing and cause micro cuts, leading to fraying of your slackline. It can even make the new webbing inappropriate for use somewhat quickly.
Tip 4
As important as the installation, it is the uninstallation and storage of the webbing. Trickline webbing requires high tensions, and the best way to uninstall is using the soft release system which will remove the tension first. This prevents the side of the webbing from touching the side of the ratchet.
Tip 5
Like any fabric, it gets dirty, covered in sweat, and small particles of dirt can get between the fibers of the webbing resulting in a loss of strength over time due to micro cuts. For that reason, it is always good to spread out your gear on a blanket while you are setting up, and not let it sit in dirt.

Tip 6
If the line is wet, do not keep it wrapped since it will be hard to dry and may weaken the webbing's internal structures. A suggestion is to fold it this way to help drying, which facilitates the passage of air. And always, let it dry completely before storing.
Tip 7
If your line is dirty and needs to be washed, you should always use a neutral and soft soap to avoid any invisible damage to the webbing. Like mentioned above, allow to dry naturally in the shade before storing.
Tip 8
Inspect your line regularly. If the webbing has any sign of damage or if you have doubt, do not use it and replace it. Many people take the risk of using webbing until it snaps, which is super dangerous, not only because the person can fall but also because the snapped line is under high tension and can hit the user, striking the body or even the face, causing serious injury.


